- Home
- Craft Photography
- Product Photography Backgrounds & Surfaces
Product Photography Backgrounds
Product photography backgrounds that are affordable & simple to use. Check out these ideas for ready-made & easy DIY backdrops you can use to style product images in your home photography studio.
Before we look at backdrop ideas, let's answer the question, What is a photography backdrop?
Backdrops cover the horizontal and sometimes the vertical space in your scene. They allow you to create a variety of looks so you're not limited by your location.
We'll look at several choices available including ready-made backdrops, household items, and homemade backdrops you can easily DIY.
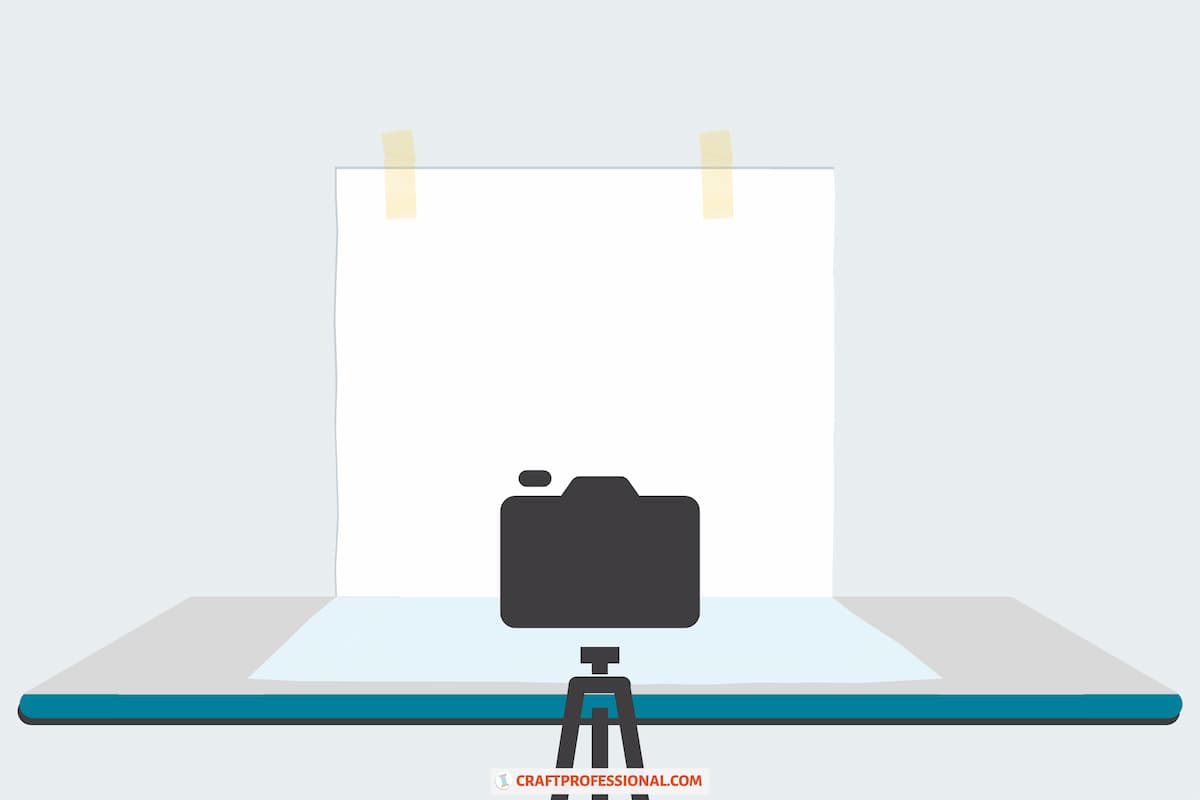
How to Set Up Product Photography Backgrounds
The are three basic ways you can set up your backdrop when photographing items to sell.
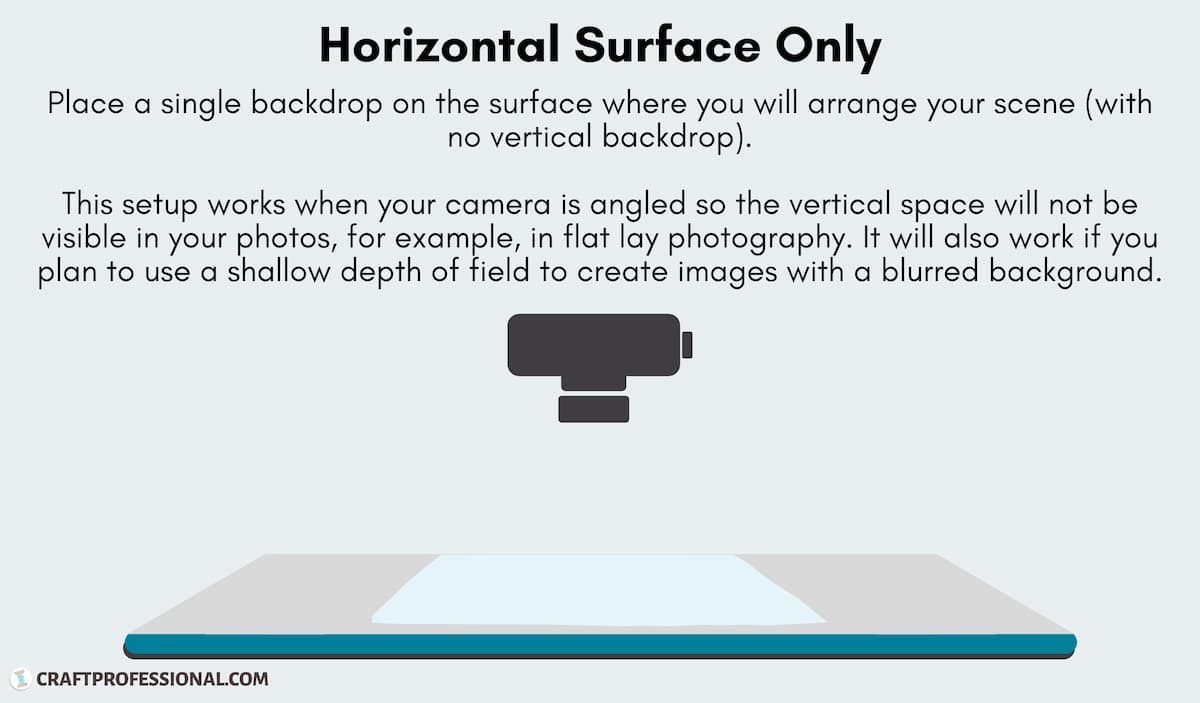
1. A horizontal surface where you'll set your product and any styling props:
A horizontal surface can be used alone when you won't see the vertical space behind the product either because of the camera angle (think flat lay photography) or because you've blurred the background.
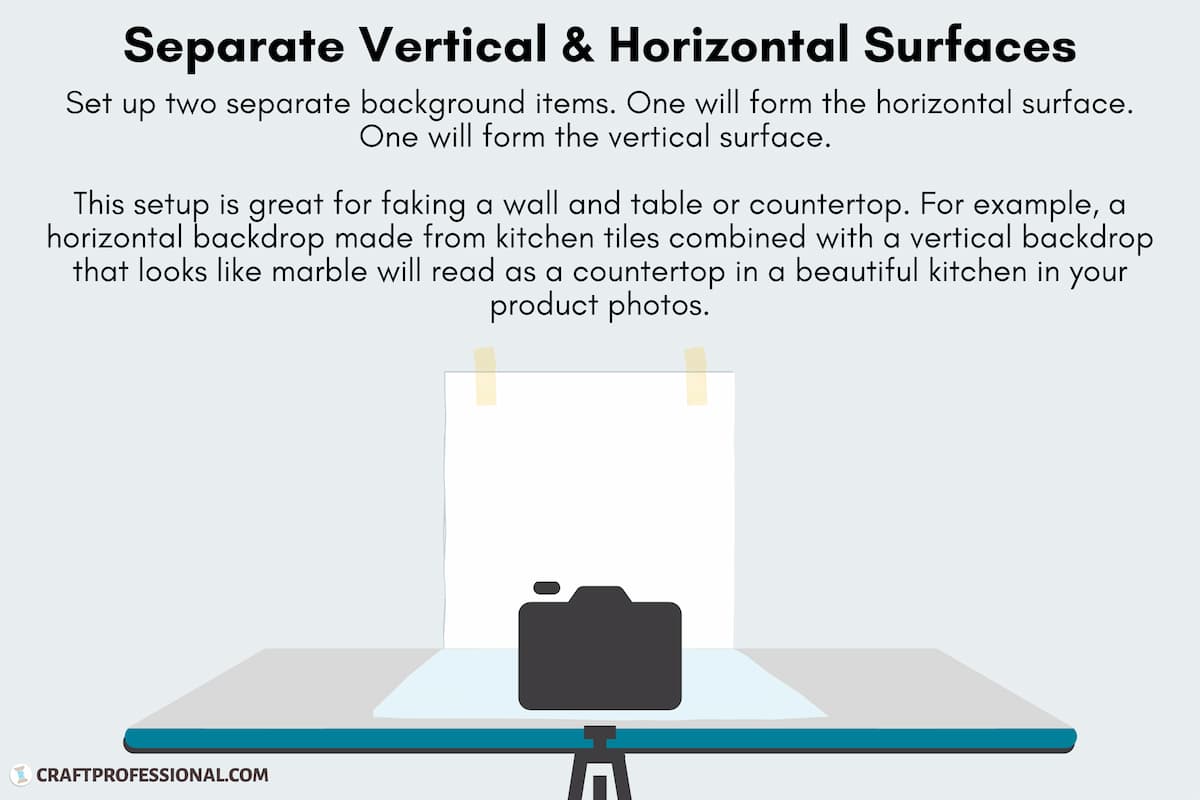
2. A vertical surface that will appear as a wall in your images:
Typically, you'll use a horizontal surface along with a vertical surface. This setup shows a difference between the background and the surface your product sits on. It's great for faking a location, like a kitchen with a gorgeous countertop and backsplash.
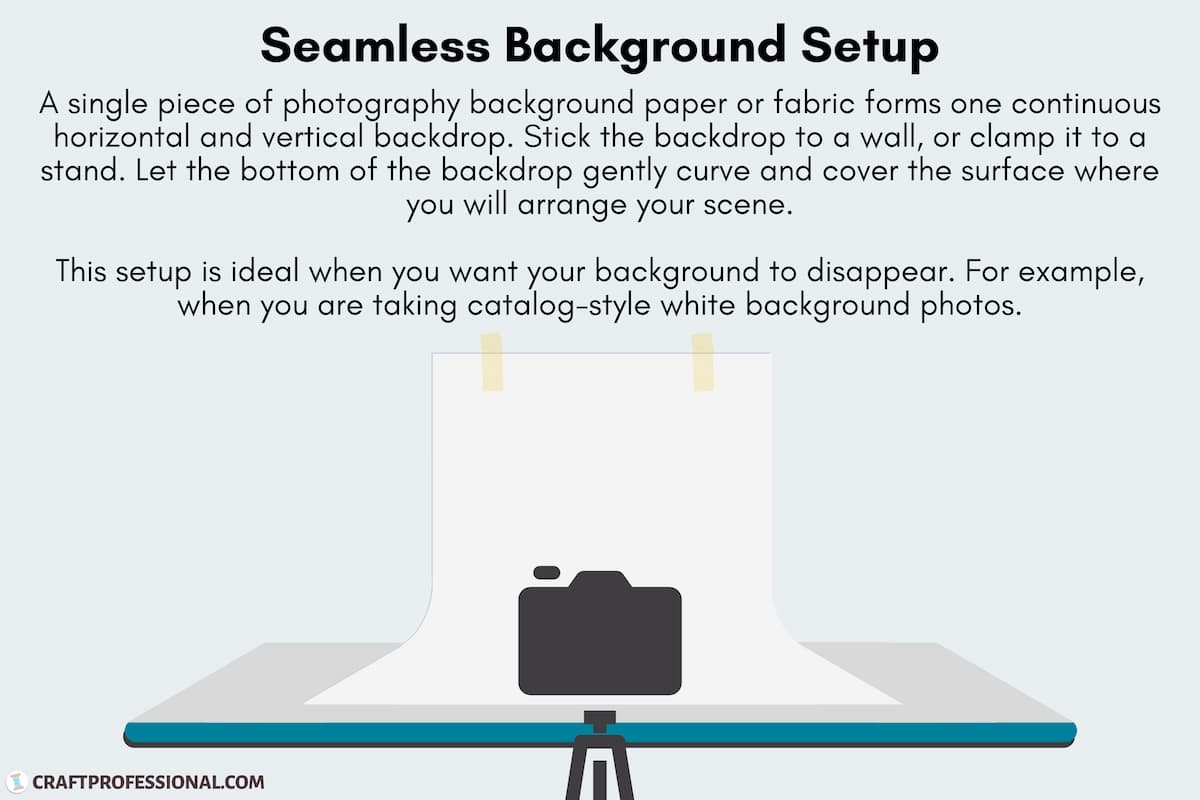
3. A sweep, also known as a seamless backdrop:
Suspend a flexible backdrop (paper or fabric) vertically. Let it gently curve to seamlessly cover the horizontal surface. This setup allows the background to disappear in your photos.
What do photographers use for backdrops?
Product photography backgrounds can be made from:
- a roll of seamless photography backdrop paper
- poster board
- foam board
- background mats for tabletop photography
- easy DIY backdrops handmade from common household items
Depending on how you'll use your photos, your backgrounds can be white, black, or a color that suits your brand. You can buy or DIY backdrops with subtle texture and pattern to add interest to your images.
You can even use product photography backgrounds to suggest a location that suits your product.
Let's check out some ideas for product photography backgrounds.
White Background Product Photography
White is a standard background color for product photography. You'll see this type of backdrop used in popular product-only, white background photos that show your item alone.
You can also use this simple background for lifestyle product photography scenes you've styled with props.
A white background is good for photography because it provides a clean foundation that won't distract from your product and won't cast any unwanted color on your images.
What can I use as a white backdrop for photography?
White photography paper is easy to find in several different sizes.
If you're watching your budget, you can make a cheap white backdrop using poster board or foam board.
Jessica Marquez, who teaches the Craftsy course, Product Photography at Home, photographed these handmade espadrilles using a white backdrop.
Colored Product Photography Backgrounds
White is an excellent starting place when choosing product photography backgrounds. It's an easy color to work with, making it an ideal choice for beginner photographers.
But if you're ready to try something more adventurous, you can use any colored backdrop that suits your brand. Everything from black, to gradients, to all colors of the rainbow can form a backdrop for your photos.
If you do use colored product photography backgrounds, be sure to set the white balance on your camera so you don't end up with images that have a strange color cast from your backdrop.
I've written more about white balance and other camera settings for product photography if you'd like to learn more.
Black Background Product Photography
A black background can create a luxurious, mysterious, or moody atmosphere for your craft photography.
What can I use for a black backdrop?
- a commercially made black photography backdrop
- black poster board or foam board
- black fabric with some stretch (to avoid wrinkles)
Photographer, Tabitha Park, creates some gorgeous photos using dark backdrops. She features a lot of food photography, but the same concepts can be used in photographing crafts.
Tabitha teaches a dark and moody photography class on Skillshare.
Colored Background Product Photography
Color can be an effective tool in creating images that communicate your brand's story. Colored backdrops used consistently throughout your images, following rules you've laid out in a photography style guide, can help you create a cohesive set of photos that are distinctive to your brand.
What can I use for a colored backdrop?
- Ready-made product photography backgrounds come in several colors
- Colorful poster board or foam board is an inexpensive way to experiment with different colored backgrounds
- You can DIY a backdrop that's any color you like (more details below)
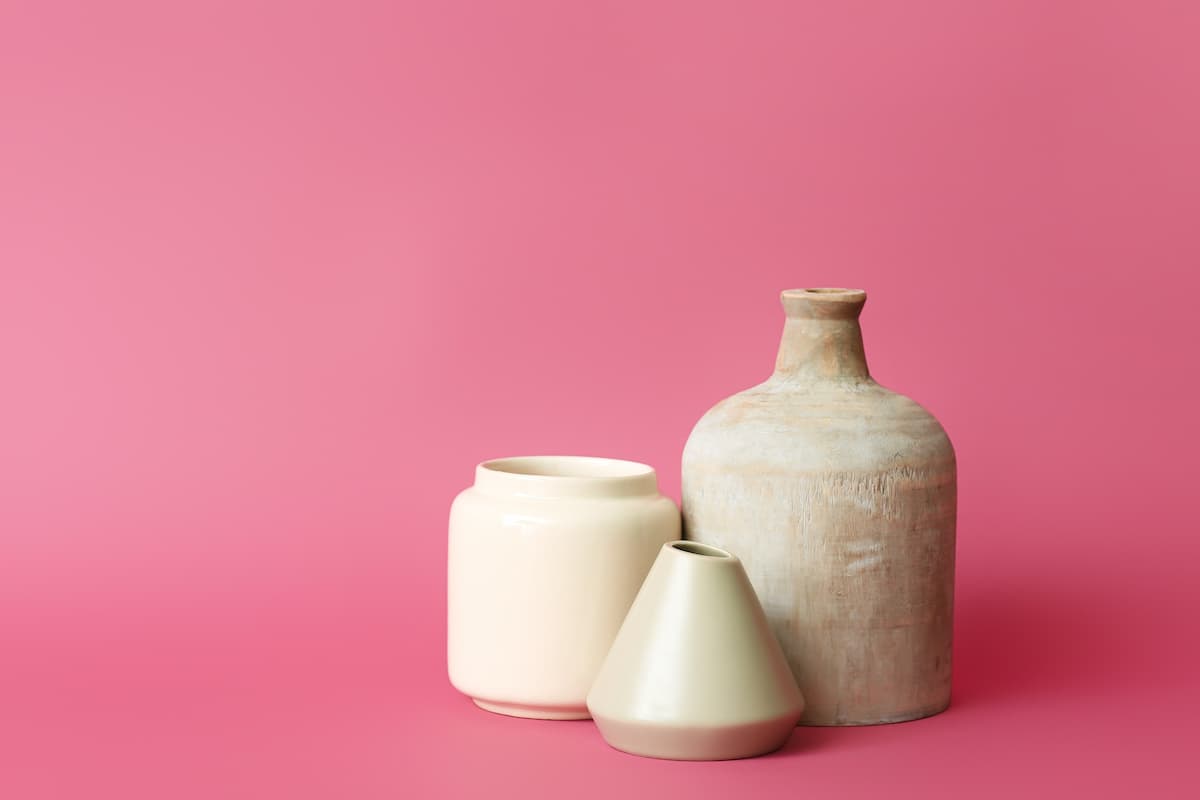 Product photography with colored background
Product Photography Gradient Background
A gradient background, also called a graduated background, is a popular way to photograph handmade items.
Typically, a gradient background will be set up as a seamless sweep with black at the top and white the bottom, which can create a dramatic, spotlight effect.
A gradient background effect can be created using a solid colored backdrop and strategically placed lighting. However, achieving this look with lighting takes some skill.
If you're a beginner photographer, and you want to take photos with a gradient background, save yourself a whole lot of hassle and buy a graduated photography backdrop.
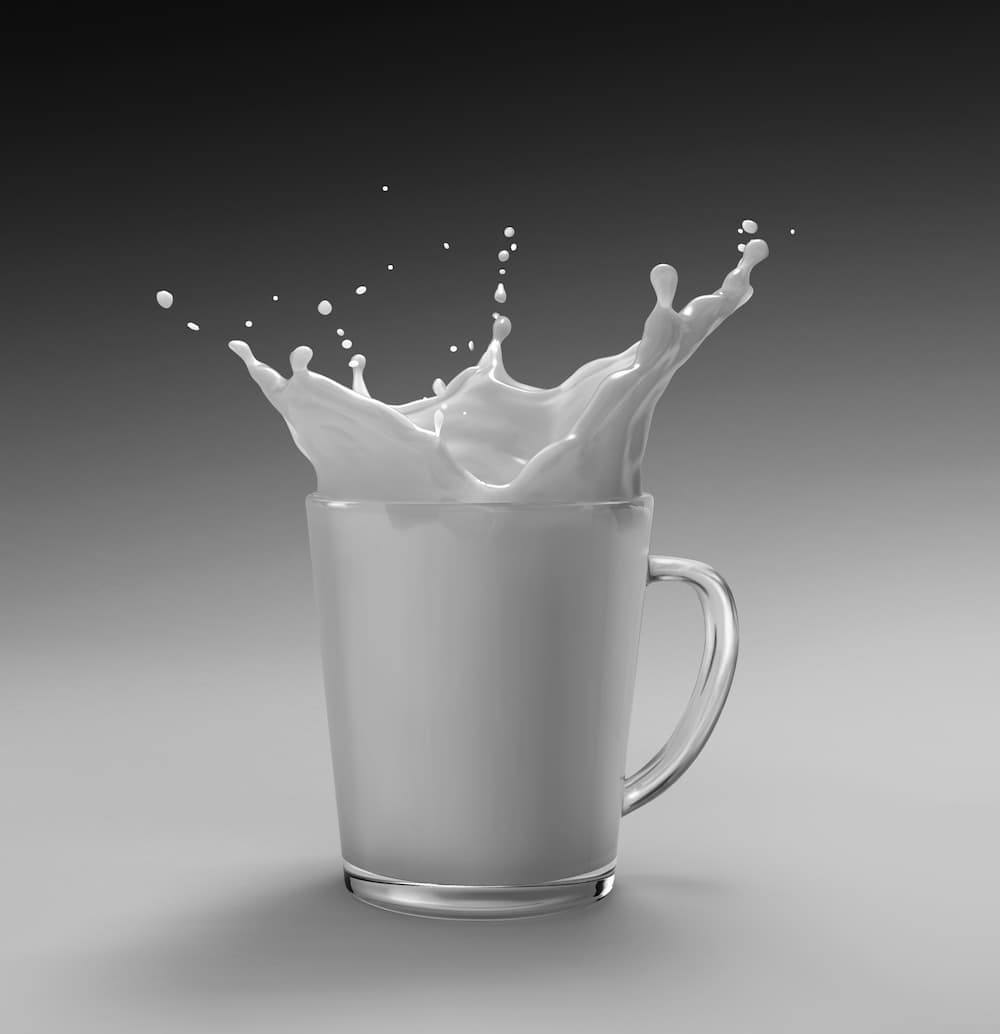 Glass mug photographed on a gradient background.
DIY Backdrops for Product Photography
Don't worry if you can't find any ready-made product photography backgrounds that have the look you want.
You can easily make your own photography backdrop from items you might already have around the house such as:
- a large serving tray or cutting board
- poster board
- foam board
- wood boards
- a chalk board
- fabric such as curtains or blankets
If you want to go beyond using household items as-is, you can easily DIY a handmade backdrop that's a perfect fit for the photography style you envision for your brand.
How do you make a homemade photography backdrop?
Start with something that will work as a base for your backdrop.
Artist Panels
Canvas or wood artist panels are a great option if you're photographing something fairly small and don't need a huge backdrop to fill the frame of your image.
Wood Boards
A wood board from a building supply store will also work well. You'll be covering the wood, so you don't need to buy anything expensive. Just be aware of any texture that may impact the final look, and make sure you choose a size that's large enough for your needs.
Bonus — You can decorate both sides of your wood boards differently, so one board will give you two different backdrops and two different looks.
Once you hav a base, you can decorate your DIY backdrop. You have plenty of options.
Painted Backdrop
You can paint your backdrop any color you like. Go to your local paint store and pick up some sample sizes of a few paint colors. Samples are affordable, and you'll be able to choose from plenty of colors.
You can create a beautiful concrete-look backdrop like the one pictured below using simple paint techniques. Learn how on Skillshare.
Textured Painted Backdrop
Before you paint, use a scraper to spread a layer of paintable caulk on your panel to create subtle texture. Let it dry, and then paint. Consider using two or three similar colors to add to the textured effect.
For detailed instructions, check out Tabitha Park's Skillshare class, DIY Backdrops II: Custom Photography Textures, to learn how to make a textured, painted backdrop.
Wallpaper Backdrop
You can use wallpaper as a photography backdrop. Simply cover one side of your board with wallpaper you love. Peel and stick vinyl will work as well. Subtle patterns are best. They won't be a distraction from your product.
Floor & Wall Tiles
Floor and wall tiles are great for creating the look of a luxurious kitchen or bath in your photos. No need to commit to a reno if your kitchen or bath have seen better days.
If you're photographing smaller items, a single, large floor tile may work for you.
You can also attach several wall tiles to a wood board to create an instant backdrop that will look like a beautiful backsplash in your photos.
Learn how to make a backsplash panel like the one pictured below. In Tabitha Park's Skillshare class, DIY Backdrops: Dynamic Surfaces for Tabletop Photography.
How to Hang Your Photo Backdrop
Some backdrops — like ones made from deep artist panels — will stand on their own. In most cases, however, if you're using your backdrop as a vertical surface, you'll need a way to hang it or keep it upright.
What can I use to hold up a backdrop?
- A ready-made photography backdrop stand is worth considering if you need to use large backdrops.
- You can set up your scene near a wall, and use low tack tape to secure your backdrop to the wall.
- Stand a deep artist panel on its edge, and attach your backdrop to the artist panel using low tack tape or clamps.
- Hang your backdrop from a curtain rod. You can secure the rod to the wall if you want to set up a permanent product photography space. Alternatively, you can use Command hooks if you need to secure a curtain rod without damaging the wall.


New! Comments
Have your say about what you just read! Leave me a comment in the box below.