Portable Jewelry Display Ideas
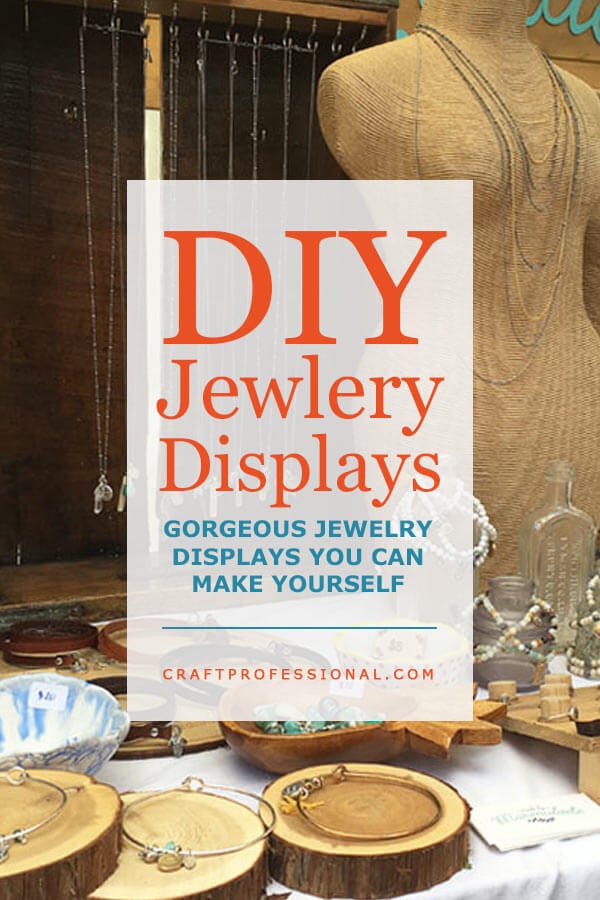
8 gorgeous photos of portable jewelry display ideas will get you motivated to beautify your own booth.
First up, is an absolutely marvellous booth, and you just might be able to take inspiration from it for your own display using items you find around your house.
I earn a commission for purchases made through links on this page.
To learn more, please see my disclosure.
Look closely at the dark wood display case on the upper left of this first photo. This case is simply a rectangular wood tray, turned on its edge, with cup hooks screwed into the top for hanging jewelry.
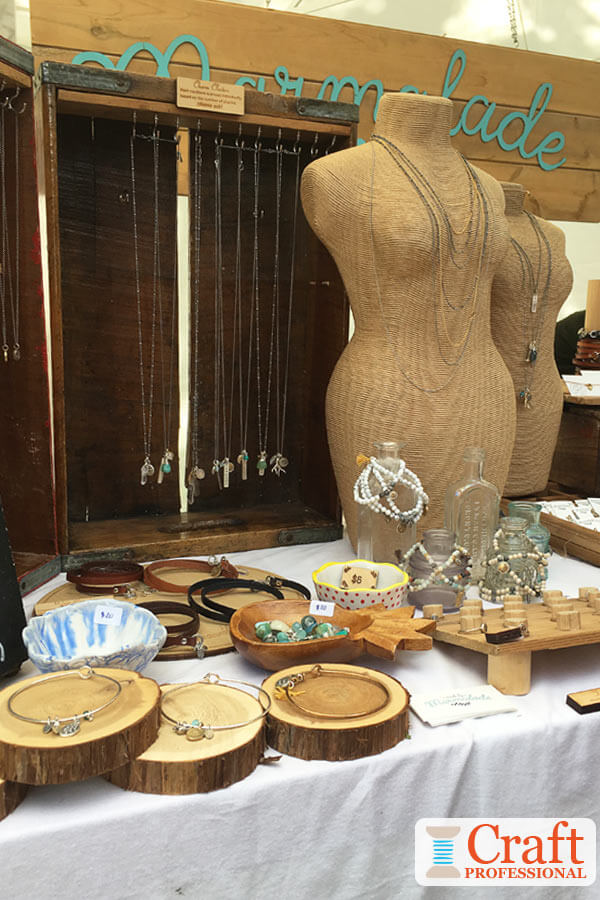
This necklace stand would be a simple DIY project. You'd just have to ensure you have the right length of tray to fit the length of your necklaces.
If, for example, your necklaces have fairly standard 17-19 inch chains, the chain would need about 8.5 to 9.5 inches of space to hang in a display, plus space for any pendant and a little extra space to clear the bottom. A tray approximately 12 - 17 inches long would work depending on the length of your chains and pendants.
Choose a tray with reasonably high sides, so it will have a sturdy base when you stand it on its edge.
Before you buy any trays for this project, be absolutely sure to check the length of your necklaces (or anything else you plan to hang) to ensure you get a good size for your needs
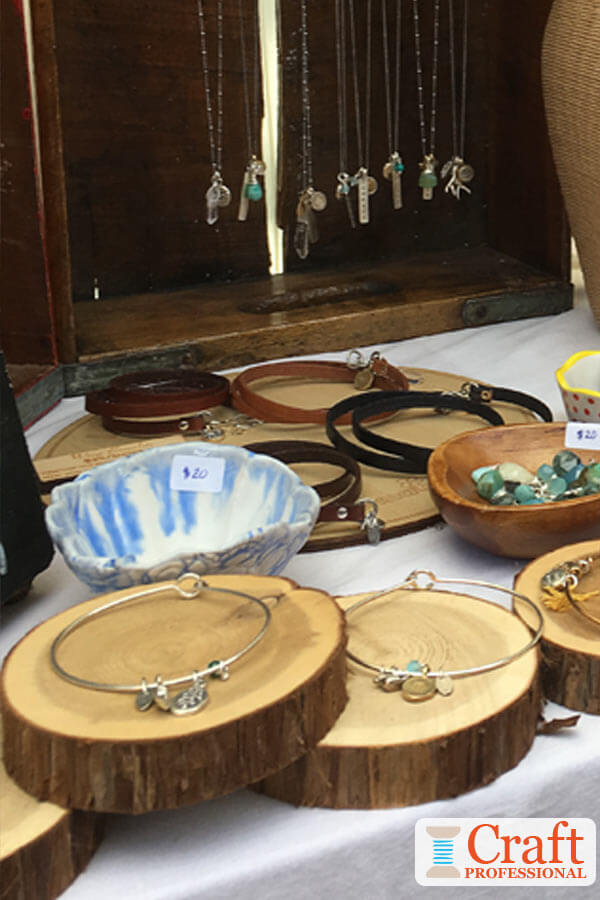
The next photo shows a close up of wood slices, bowls, a cutting board, and vintage glass bottles used to display tiny items in the same booth. It's a clever use of items you could buy or create inexpensively, and you might already have something similar around your house.
If you love the look of jewelry displayed on a mannequin, as you can see in the first photo, you can use large fabric display mannequins if you have the space. Alternatively, a small, table top torso similar to the one in the photo is a great way to feature a special piece of jewelry.
Create the Look
Want to create a similar look for your own booth? These display items at Amazon will get you started.
Wood and Marble Portable Jewelry Display
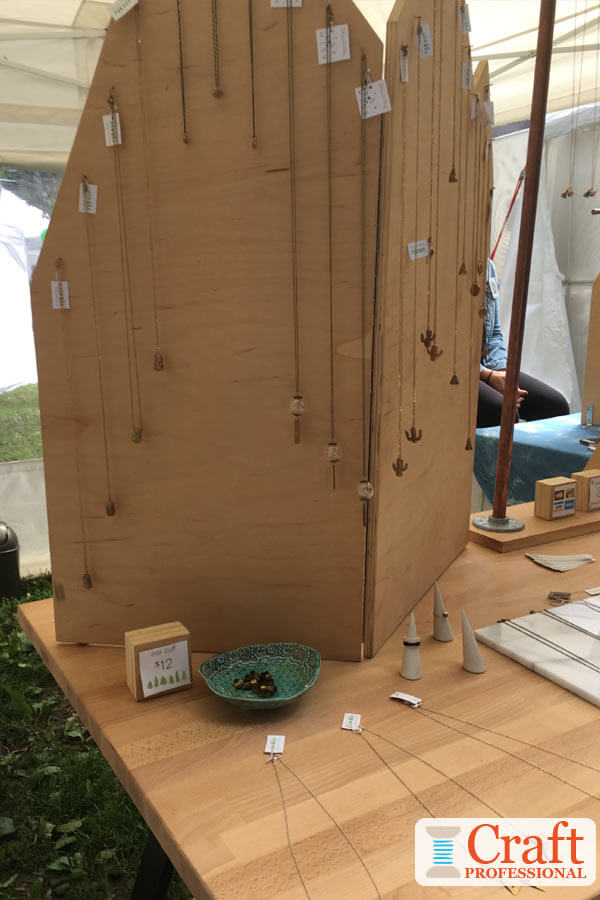
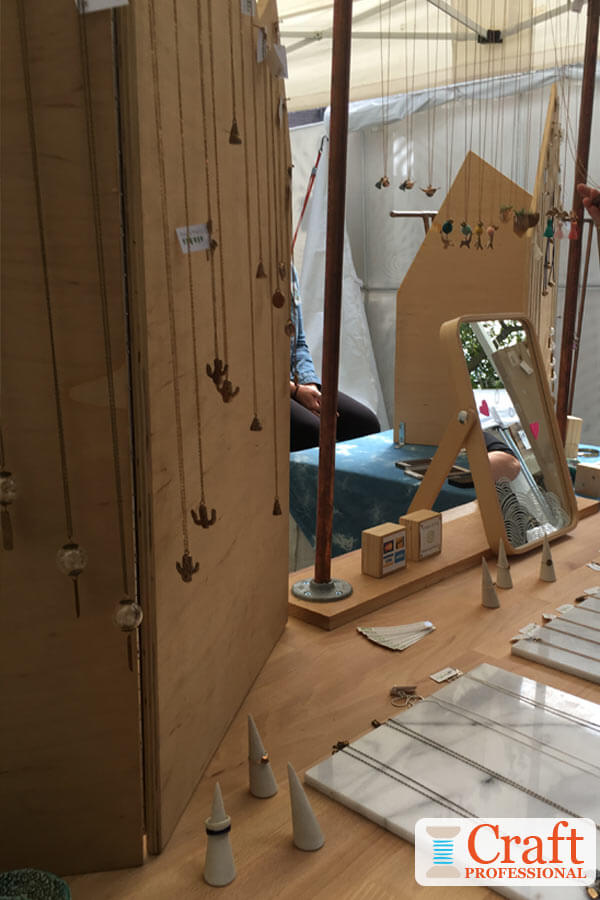
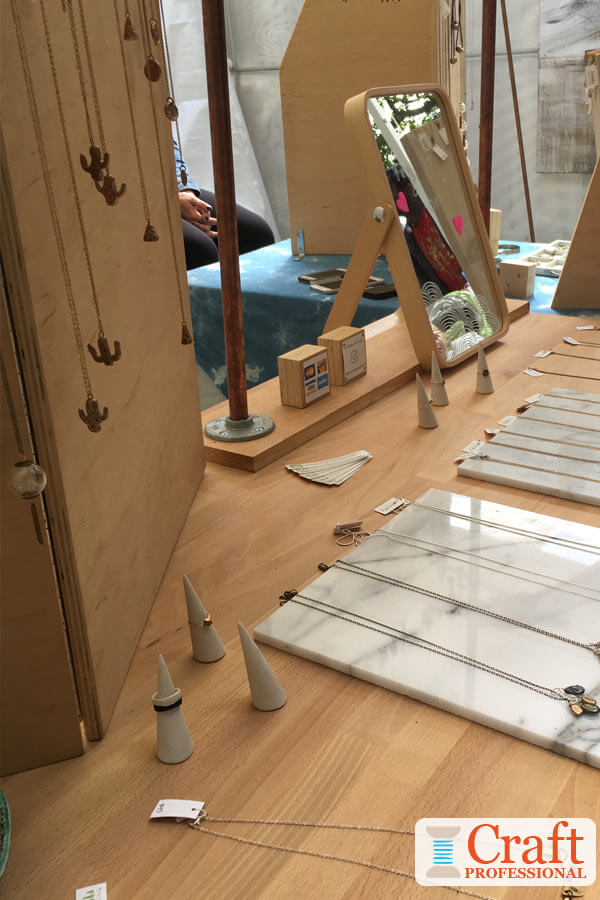
Here's another portable jewelry display idea that you can DIY. This one requires a little more skill, but it's not too complex. Check out the wood necklace stand in the photo on the left. It's just two sheets of wood cut to the width and height that works for this portable jewelry display.
There's a bit of a zig zag cut out of the top to add interest, and tiny nails provide a spot to hang jewelry. Finally, two pieces of wood are attached with hinges to create an interesting V shape that echoes the zig zags on the top and creates a stable base for the wood to stand securely.
It's a simple, clever, and inexpensive way to display necklaces or other small items.
If you decide to make a similar stand, remember to ensure the height of the stand is tall enough to accommodate whatever you're going to hang from the stand.
Pair the wood stands with a few rich marble tiles for displaying more jewelry, and you've got a winning combination!
Keep Your Jewelry booth Dry
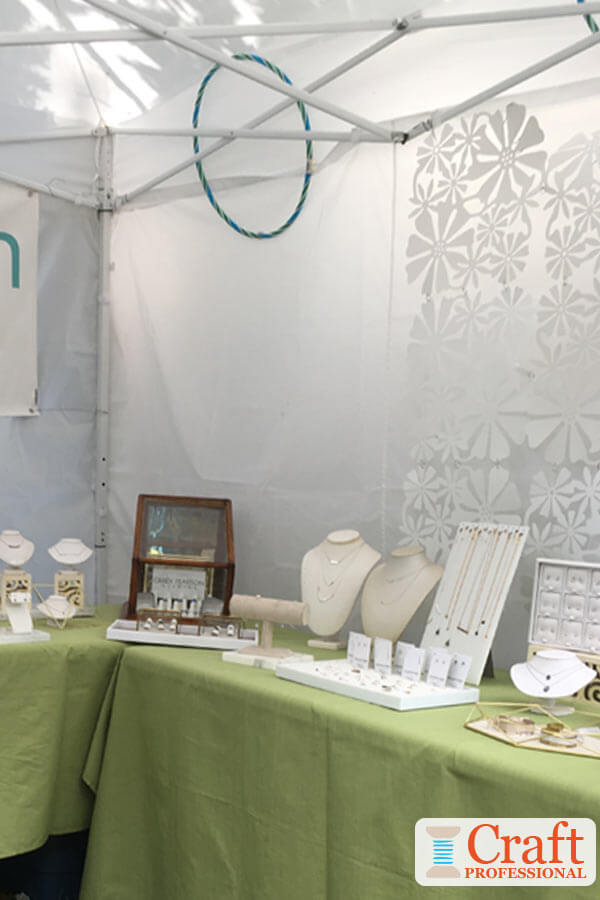
Did you notice the hula hoop at the top of this jewelry tent? It's there to tighten the fabric on the top of the tent, so water won't pool and cause leaks if it rains.
It's very noticeable in the photo, or if you're really examining the booth in person. But average customers who are interested in the jewelry, and not how the booth is put together, would almost never notice it.
If you're interested, you can learn more about protecting your booth from wind and rain here.
Display Furniture That Does Double-Duty
Wood stands, trays, and crates come together to create a fantastic portable jewelry display.
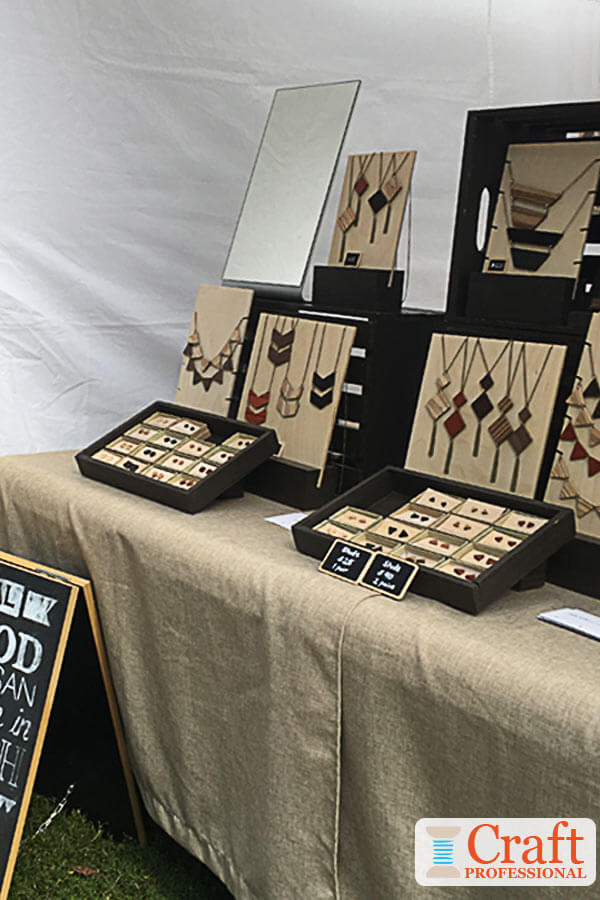
The light wood planks used to display necklaces here are simple wood rectangles with notches cut out to hold the jewelry in place. With some basic woodworking skills, you could DIY this stand.
The wood crates add depth and height to the display, and they would be fabulous for storage and transporting product to and from shows.
Display pieces that do double-duty as storage and transportation aids are fabulous!
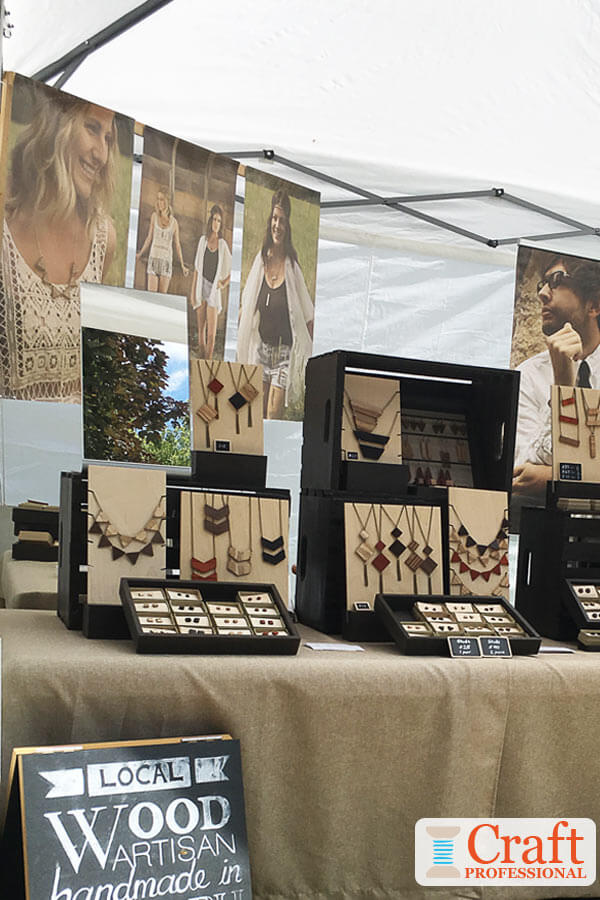
Matching wood trays provide a way to group smaller jewelry pieces. Paint or stain the wood and the crates the same color, and you'll have an excellent, pulled together look. Use an accent color for the necklace displays, as this jewelry artist has done. When choosing a color for items that will display your products, be sure to choose one that shows your jewelry at its best.
Add a table covering that suits your brand, large-scale signs are fantastic to draw attention to smaller items, and a chalkboard sign would finish the look beautifully!
Create the Look
Signs for Your Jewelry Booth
Encourage your customers to indulge a little and buy your jewelry with my digital craft booth signs. There are even signs for craft professionals who prefer the spelling "jewellery" (available in my Etsy shop). Instantly download, print, and add them to your booth. Click your favorite sign below to head over to my Etsy shop.




New! Comments
Have your say about what you just read! Leave me a comment in the box below.